Key takeaways
- Send a labeled sketch with rough dimensions, closets, doorways, and clear flooring start and stop points.
- Group wide photos and detail photos by room, using the same labels as your sketch.
- Include the exact flooring product, access notes, and known conditions below the floor.
- Photos cannot establish subfloor flatness, moisture levels, final material quantities, or the installation method.
- Use furniture, removal, and trim photos to discuss responsibilities rather than assume those tasks are included.
Send your flooring installer a labeled room sketch, rough measurements, wide room photos, detail photos, and the exact flooring product you are considering. Add your town, access notes, and any known dampness or floor damage. These details start a useful estimate conversation. They do not replace an on-site assessment or establish a final installation plan.
For your home near Taneytown, connect each measurement to a named room and its photos. You do not need drafting software or perfect photography. Paper, a tape measure, and your phone are enough to get started.
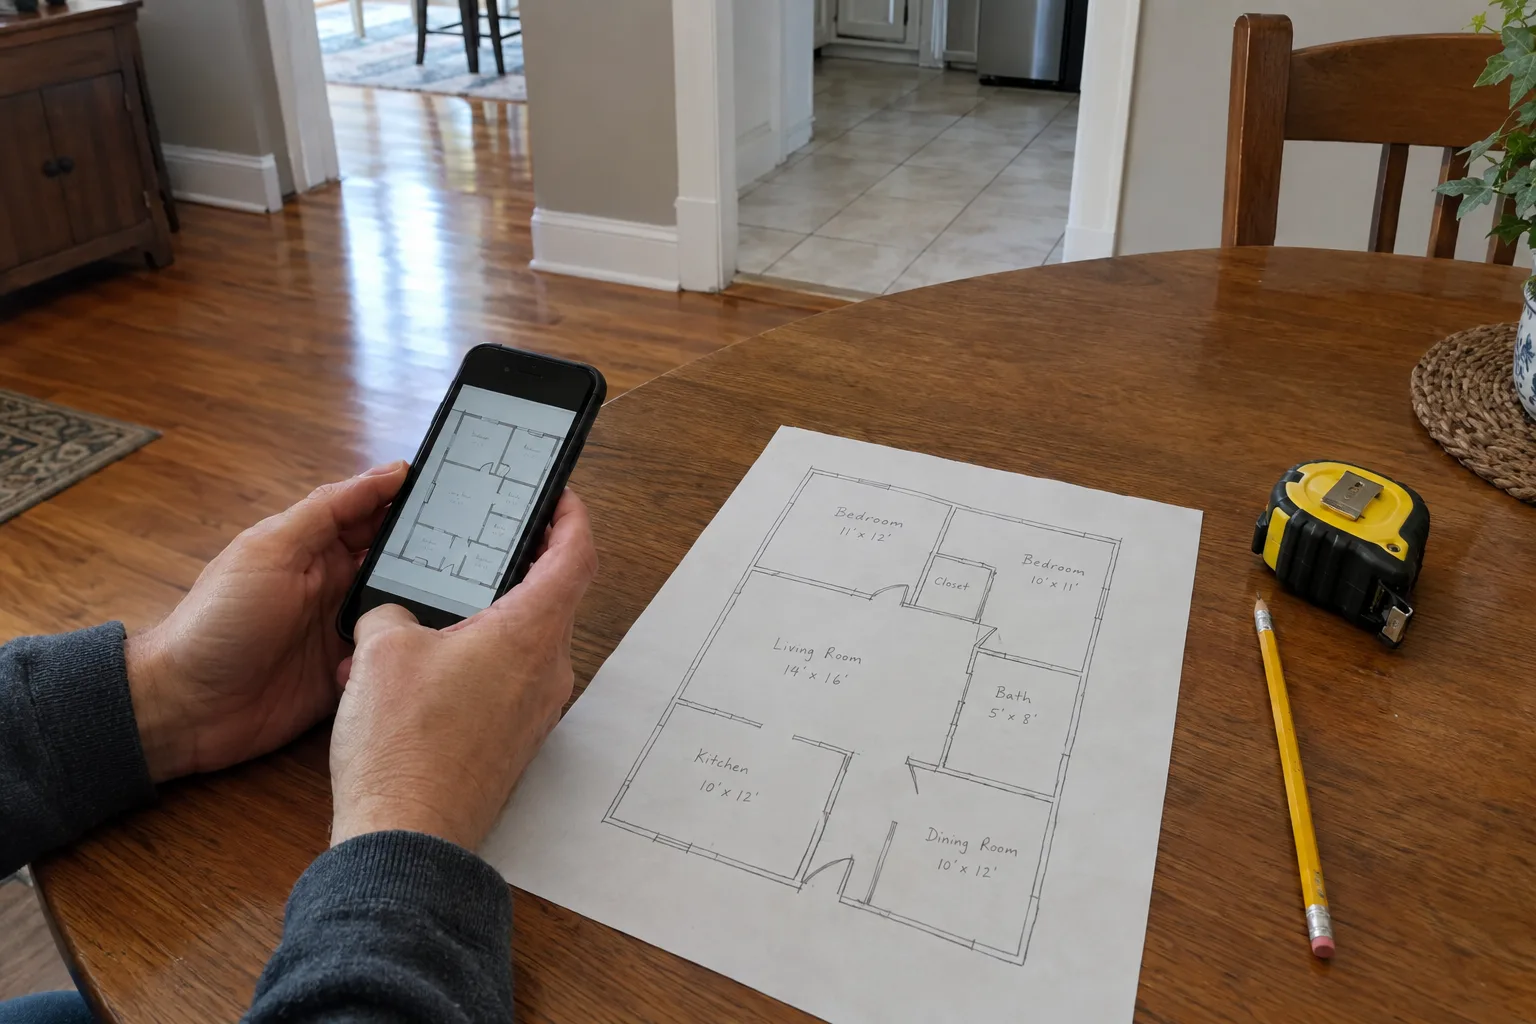
1. Send a labeled room sketch
Draw each room that will receive flooring. Include closets, hallways, doorways, and connecting spaces. Label rooms with simple names such as “Living room A” and “Hall B.” Use those names in your photo captions.
Write dimensions in feet and inches. Measure wall to wall rather than estimating from furniture placement. For an irregular room, divide the shape into rectangles and show each section's dimensions. Include alcoves rather than hiding them inside one overall measurement.
Mark these details on the sketch:
- Where the new flooring starts and stops.
- Closets that are included or excluded.
- Doorways and open passages between rooms.
- Adjacent carpet, tile, hardwood, or vinyl that will remain.
- Stair landings and connections.
- Fixed cabinets, hearths, and other obstacles.
If you are planning hardwood floor installation, show whether the new wood will meet existing hardwood. Include a close photo of that connection.
Bruce’s preparation guide distinguishes homeowner measurements for an initial estimate from professional measurements for a firm quote. Treat your sketch as a starting point, not an ordering document. Mark any dimension you could not measure reliably as approximate.
2. Match photos to the sketch
Work through one room at a time. Start with a wide photo from the doorway. Then take another from the opposite corner. Show enough floor and wall area to make the layout clear.
Follow with detail photos of:
- Existing flooring and loose or damaged areas.
- Doorways and transitions to other surfaces.
- Baseboards and shoe molding.
- Exterior doors and low-clearance interior doors.
- Stair connections and landings.
- Subfloor that is already exposed.
Include a wider view before each close-up so Mike can locate the detail. A caption such as “Hall B, bathroom doorway, existing tile stays” is more useful than an unlabeled close-up.
Use steady, well-lit photos without filters. Do not pull up flooring or remove trim just to take pictures. Do not enter an unsafe crawlspace or climb into an awkward position.
A room-by-room submission example
These dimensions are examples, not a material calculation.
| Sketch label | Rough measurements | Photos and boundary notes |
|---|---|---|
| Living room A | 14 feet 2 inches by 12 feet 6 inches | A1 and A2 show opposite corners. A3 shows the kitchen tile edge. |
| Hall B | 3 feet 4 inches by 10 feet 8 inches | B1 shows the full hall. B2 shows the bathroom doorway where work stops. |
| Closet C | 2 feet by 5 feet 3 inches | C1 shows the floor and doorway. Include this closet. |
| Stair connection D | Mark its location on the sketch | D1 shows the landing. D2 shows the stair edge from a safe standing position. |
Add a scope sentence: “Replace flooring in A, B, and C. Keep the kitchen tile and bathroom floor. Discuss the stair connection at D.” This separates the work area from nearby spaces that only appear in your photos.
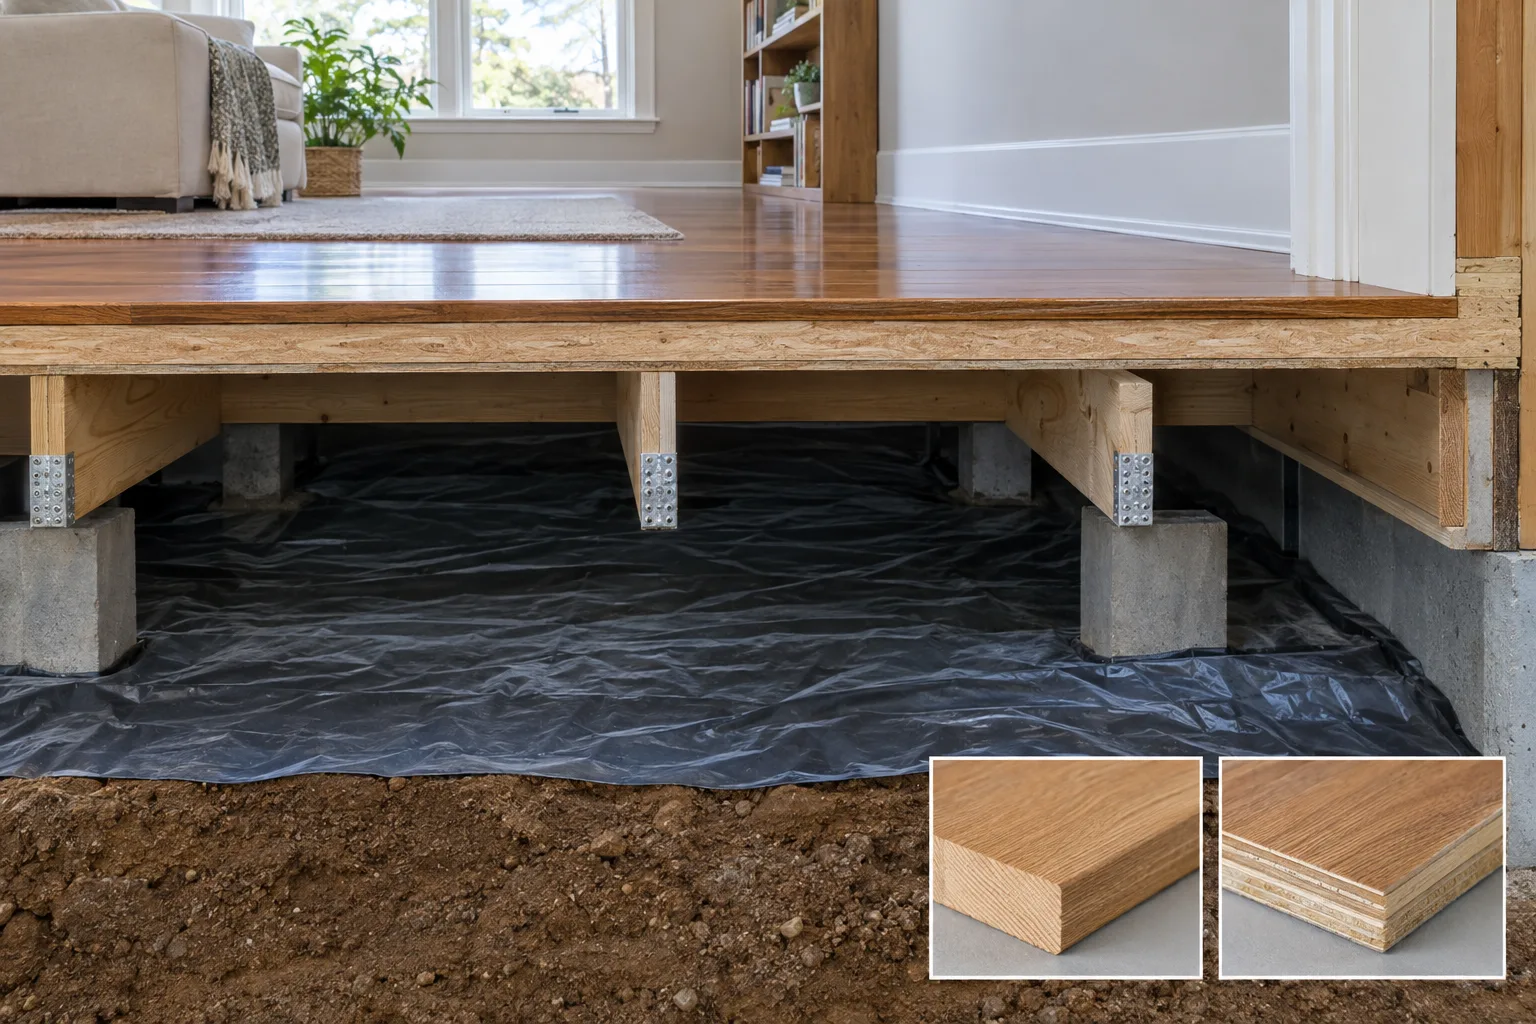
3. Describe conditions below the floor
Say whether the work area sits above a basement, crawlspace, or concrete slab. If you do not know, write “unknown.” Do not guess.
Mention known leaks, dampness, musty odors, soft spots, movement, or recurring squeaks. Explain where they occur and whether the cause has been addressed. Photos document visible symptoms, but they cannot establish moisture levels or confirm what is underneath.
Also say whether heating and cooling are operating. Mention any dehumidifier or other humidity-control equipment in use. The NWFA jobsite checklist records below-floor conditions and environmental information because these details matter to wood flooring work.
These are questions about your particular house. A Taneytown-area address or an older construction date does not, by itself, establish a moisture problem.
4. Identify the exact flooring product
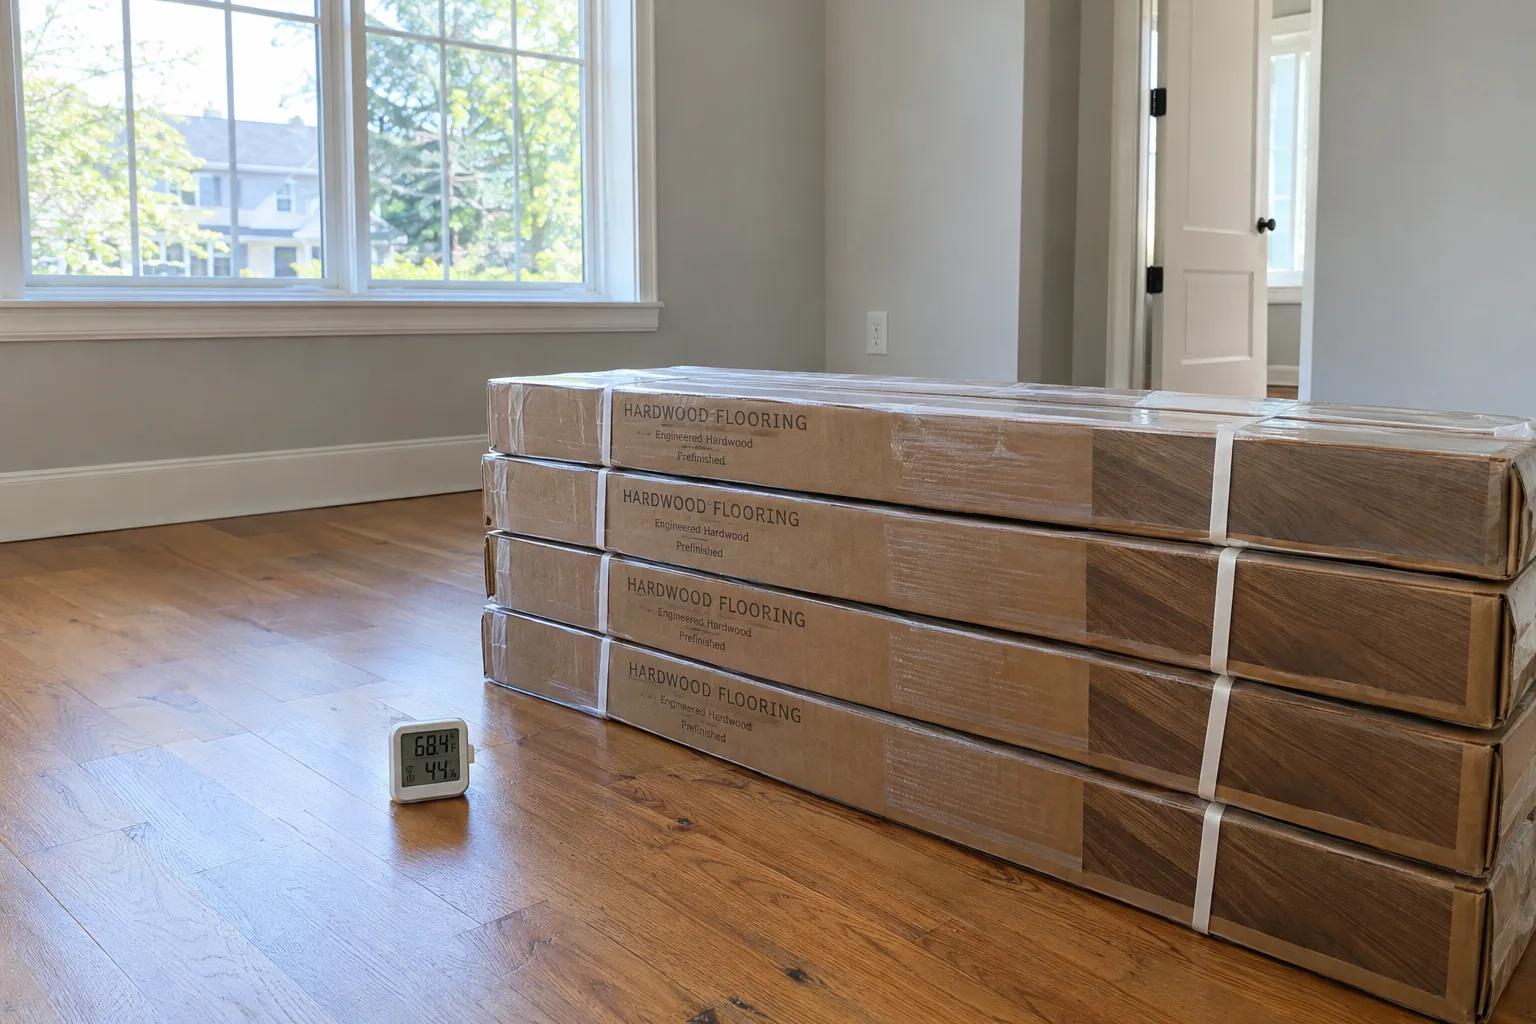
Send the brand, collection, product number, plank dimensions, and thickness. Include a product link and a clear box-label photo if available. Say whether you have purchased the material and how many unopened boxes you have.
Solid hardwood, engineered hardwood, and vinyl plank can have different installation requirements. Product suitability depends on both the selected floor and the conditions in your home. If you have not chosen a product, say so rather than presenting a preferred flooring type as a final selection.
You can select hardwood or vinyl plank at Baltimore Floor Works, 142 Railroad Ave. in Westminster, or at Lowe’s or Home Depot. You can buy the material yourself, or Mike can order your selection, usually through Baltimore Floor Works. Mike does not bring samples to your house.
Do not order from your rough room measurements alone. Final quantities need to account for the layout, cuts, and the selected product.
5. Add access and preparation notes
Take a short photo sequence from the likely entry door to the work area. Show entry steps, narrow turns, and stairs along that route. Describe parking and any access restrictions.
List rooms that will remain occupied during the job. Photograph large furniture, appliances near flooring boundaries, and trim you want to discuss. Say what existing flooring needs removal and whether any part has already been removed.
These details identify questions about the scope. They do not mean furniture moving, removal, disposal, or trim work is included. Ask Mike to confirm who is responsible for each task before scheduling.
If your request concerns sanding, refinishing, staining, or finishing an unfinished floor, Mike does not do that work.
6. Separate preliminary information from on-site checks
Your sketch explains the room layout. Your photos show visible surfaces and boundaries. Neither can settle every installation decision.
An on-site assessment needs to address:
- Dimensions and boundaries: Confirm the spaces included and where each flooring surface ends.
- Subfloor flatness and condition: Determine what checks and preparation are needed. A floor that looks smooth in a photo may not meet the product's requirements.
- Moisture: Identify the testing needed for the flooring and subfloor. Appearance alone does not establish readiness.
- Transitions and clearance: Check adjoining floor heights, door clearance, and stair connections.
- Material quantities and installation method: Confirm these using the selected product, measured layout, and site conditions.
The NWFA installation guidelines call for evaluating site conditions and testing moisture rather than relying on appearance.
Some conditions may remain concealed until existing flooring is removed. Ask Mike what can be confirmed beforehand and what may need another discussion after removal.
Send your checklist and check pricing
Start your message with your name, town, rooms involved, and preferred timing. Then send the sketch, room-by-room photos, product details, and access notes. Ask Mike about the best sending format before sending a large batch of images.
Current rates are on the pricing page. The estimate tool shows a preliminary range that is not a contract. Photos and rough measurements support that early discussion, but they do not establish the final scope.
Mike’s Flooring serves homes about 50 miles from the Taneytown office. Include your town so Mike can confirm your location.
Call or text (410) 259-7094. If nobody answers, leave a voicemail.
Questions people ask
Are rough measurements enough for a final flooring quote?
No. Rough measurements help start the estimate conversation. An on-site assessment is needed to confirm dimensions, boundaries, site conditions, and product requirements. Some concealed conditions may remain unknown until existing flooring is removed.
What if you have not selected a flooring product?
Send your preferred flooring type and say that the product is not yet selected. Once you choose it, send the brand, collection, product number, dimensions, and product link. Suitability and installation requirements depend on the exact product and site conditions.
Should you remove flooring to photograph the subfloor?
No. Send photos of subfloor that is already exposed. Do not pull up flooring or remove trim just to take pictures. Mention known damage, dampness, or movement so Mike can discuss the next steps.
Do furniture and trim photos mean those tasks are included?
No. Those photos help identify scope questions. Ask Mike to confirm responsibility for furniture moving, flooring removal, disposal, and trim work before scheduling.